搭建部署
参考文章:
蚂蚁笔记leanote视频安装教程(一)
蚂蚁笔记leanote视频安装教程(二)
蚂蚁笔记leanote视频安装教程(三)
蚂蚁笔记leanote视频安装教程(四)
一般将leanote和mongo运行在不同容器上,还需要装wkhtmltopdf软件等,操作比较麻烦。索性全部装在一个镜像内部,一键式部署。
不想看搭建流程可直接查看部署方式,整个镜像大小仅有1.05G,在几秒内就能部署成功。
1.搭建流程
(1)运行环境
# 从centos开始搭建
docker pull centos
docker run -it --name leanote -p 9005:9000 centos

# 下载leanote, mongo, wkhtmltopdf置于/root下,提供镜像文件方便下载,在容器内部命令行下:
cd /root
yum install -y wget vim
wget http://sunie.top:9009/Server/files/leanote.tar.gz \
    http://sunie.top:9009/Server/files/mongodb-linux-x86_64-4.0.6.tgz \
    http://sunie.top:9009/Server/files/wkhtmltox-0.12.6-1.centos8.x86_64.rpm
tar -zxvf mongodb-linux-x86_64-4.0.6.tgz
tar -zxvf leanote.tar.gz

# rpm包通过yum解决依赖,同时安装字体,避免无法显示中文
yum install -y wkhtmltox-0.12.6-1.centos8.x86_64.rpm
yum install -y urw-fonts libXext openssl-devel

# 删除安装包省空间
rm -f *.tgz *.gz *.rpm
安装wkhtmltox之后,可直接用 wkhtmltopdf http://www.baidu.com ./test.pdf 验证
# 添加环境变量
echo "PATH=\$PATH:/root/mongodb-linux-x86_64-4.0.6/bin" > /etc/profile
source /etc/profile

# 创建存放数据的目录,也是以后数据卷映射的地方
mkdir -p /root/data
在/root下建立文件start.sh和shuntdown.sh(+x权限),分别用来开启和关闭
start.sh
#!/bin/bash
# setsid ... &表示后台运行
source /etc/profile
setsid mongod --dbpath /root/data &
setsid bash /root/leanote/bin/run.sh &
shutdown.sh
#!/bin/bash
source /etc/profile
ps -A | grep leanote | awk '{ print $1}'
mongod --dbpath /root/data --shutdown
运行./start.sh之后
# 导入数据,之前登录http://ip:9005启动leanote为空白页
mongorestore -h localhost -d leanote --dir /root/leanote/mongodb_backup/leanote_install_data/
# 可通过mongo和show dbs验证建立成功
登录http://ip:9005/note即可正常启动leanote,默认用户名admin,密码abc123
(2)修改账号密码
# 设置开机自启
echo "sh /root/start.sh" > /etc/rc.d/rc.local

# 进入mongo数据库中:创建数据库用户名密码(注意数据库用户 与 管理员用户不是一个用户)
mongo
> use leanote
> db.createUser({
     user: 'sunie',
     pwd: 'Sunye123',
     roles: [{role: 'dbOwner', db: 'leanote'}]
})
> exit

# 更改conf文件,修改adminUsername,username, password, secret. secret随便改一下
vim /root/leanote/conf/app.conf
管理员用户名登录之后在页面上修改,确保其与修改adminUsername一致,管理员用户才能访问后台!
通过./shuntdown.sh关闭进程,退出容器后提交镜像
(3)提交容器
# 容器运行数据在/root下
docker commit -m "centos with leanote & mongo" leanote sunie/leanote:0.3
# push到云端
docker login --username=ryansunye registry.cn-hangzhou.aliyuncs.com
docker tag [ImageId] registry.cn-hangzhou.aliyuncs.com/sunie/leanote:0.3
docker push registry.cn-hangzhou.aliyuncs.com/sunie/leanote:0.3
2.部署方式
docker pull registry.cn-hangzhou.aliyuncs.com/sunie/leanote:0.3
docker tag registry.cn-hangzhou.aliyuncs.com/sunie/leanote:0.3 sunie/leanote
docker run -dit --name leanote \
    -v /docker/leanote:/root/data \
    -p 9005:9000 \
    sunie/leanote
登录http://ip:9005即可正常启动leanote,部署过程仅需要三行代码,注意-v映射的是存放笔记文件的文件夹,最好选择一个比较大的目录。
3.应用设置
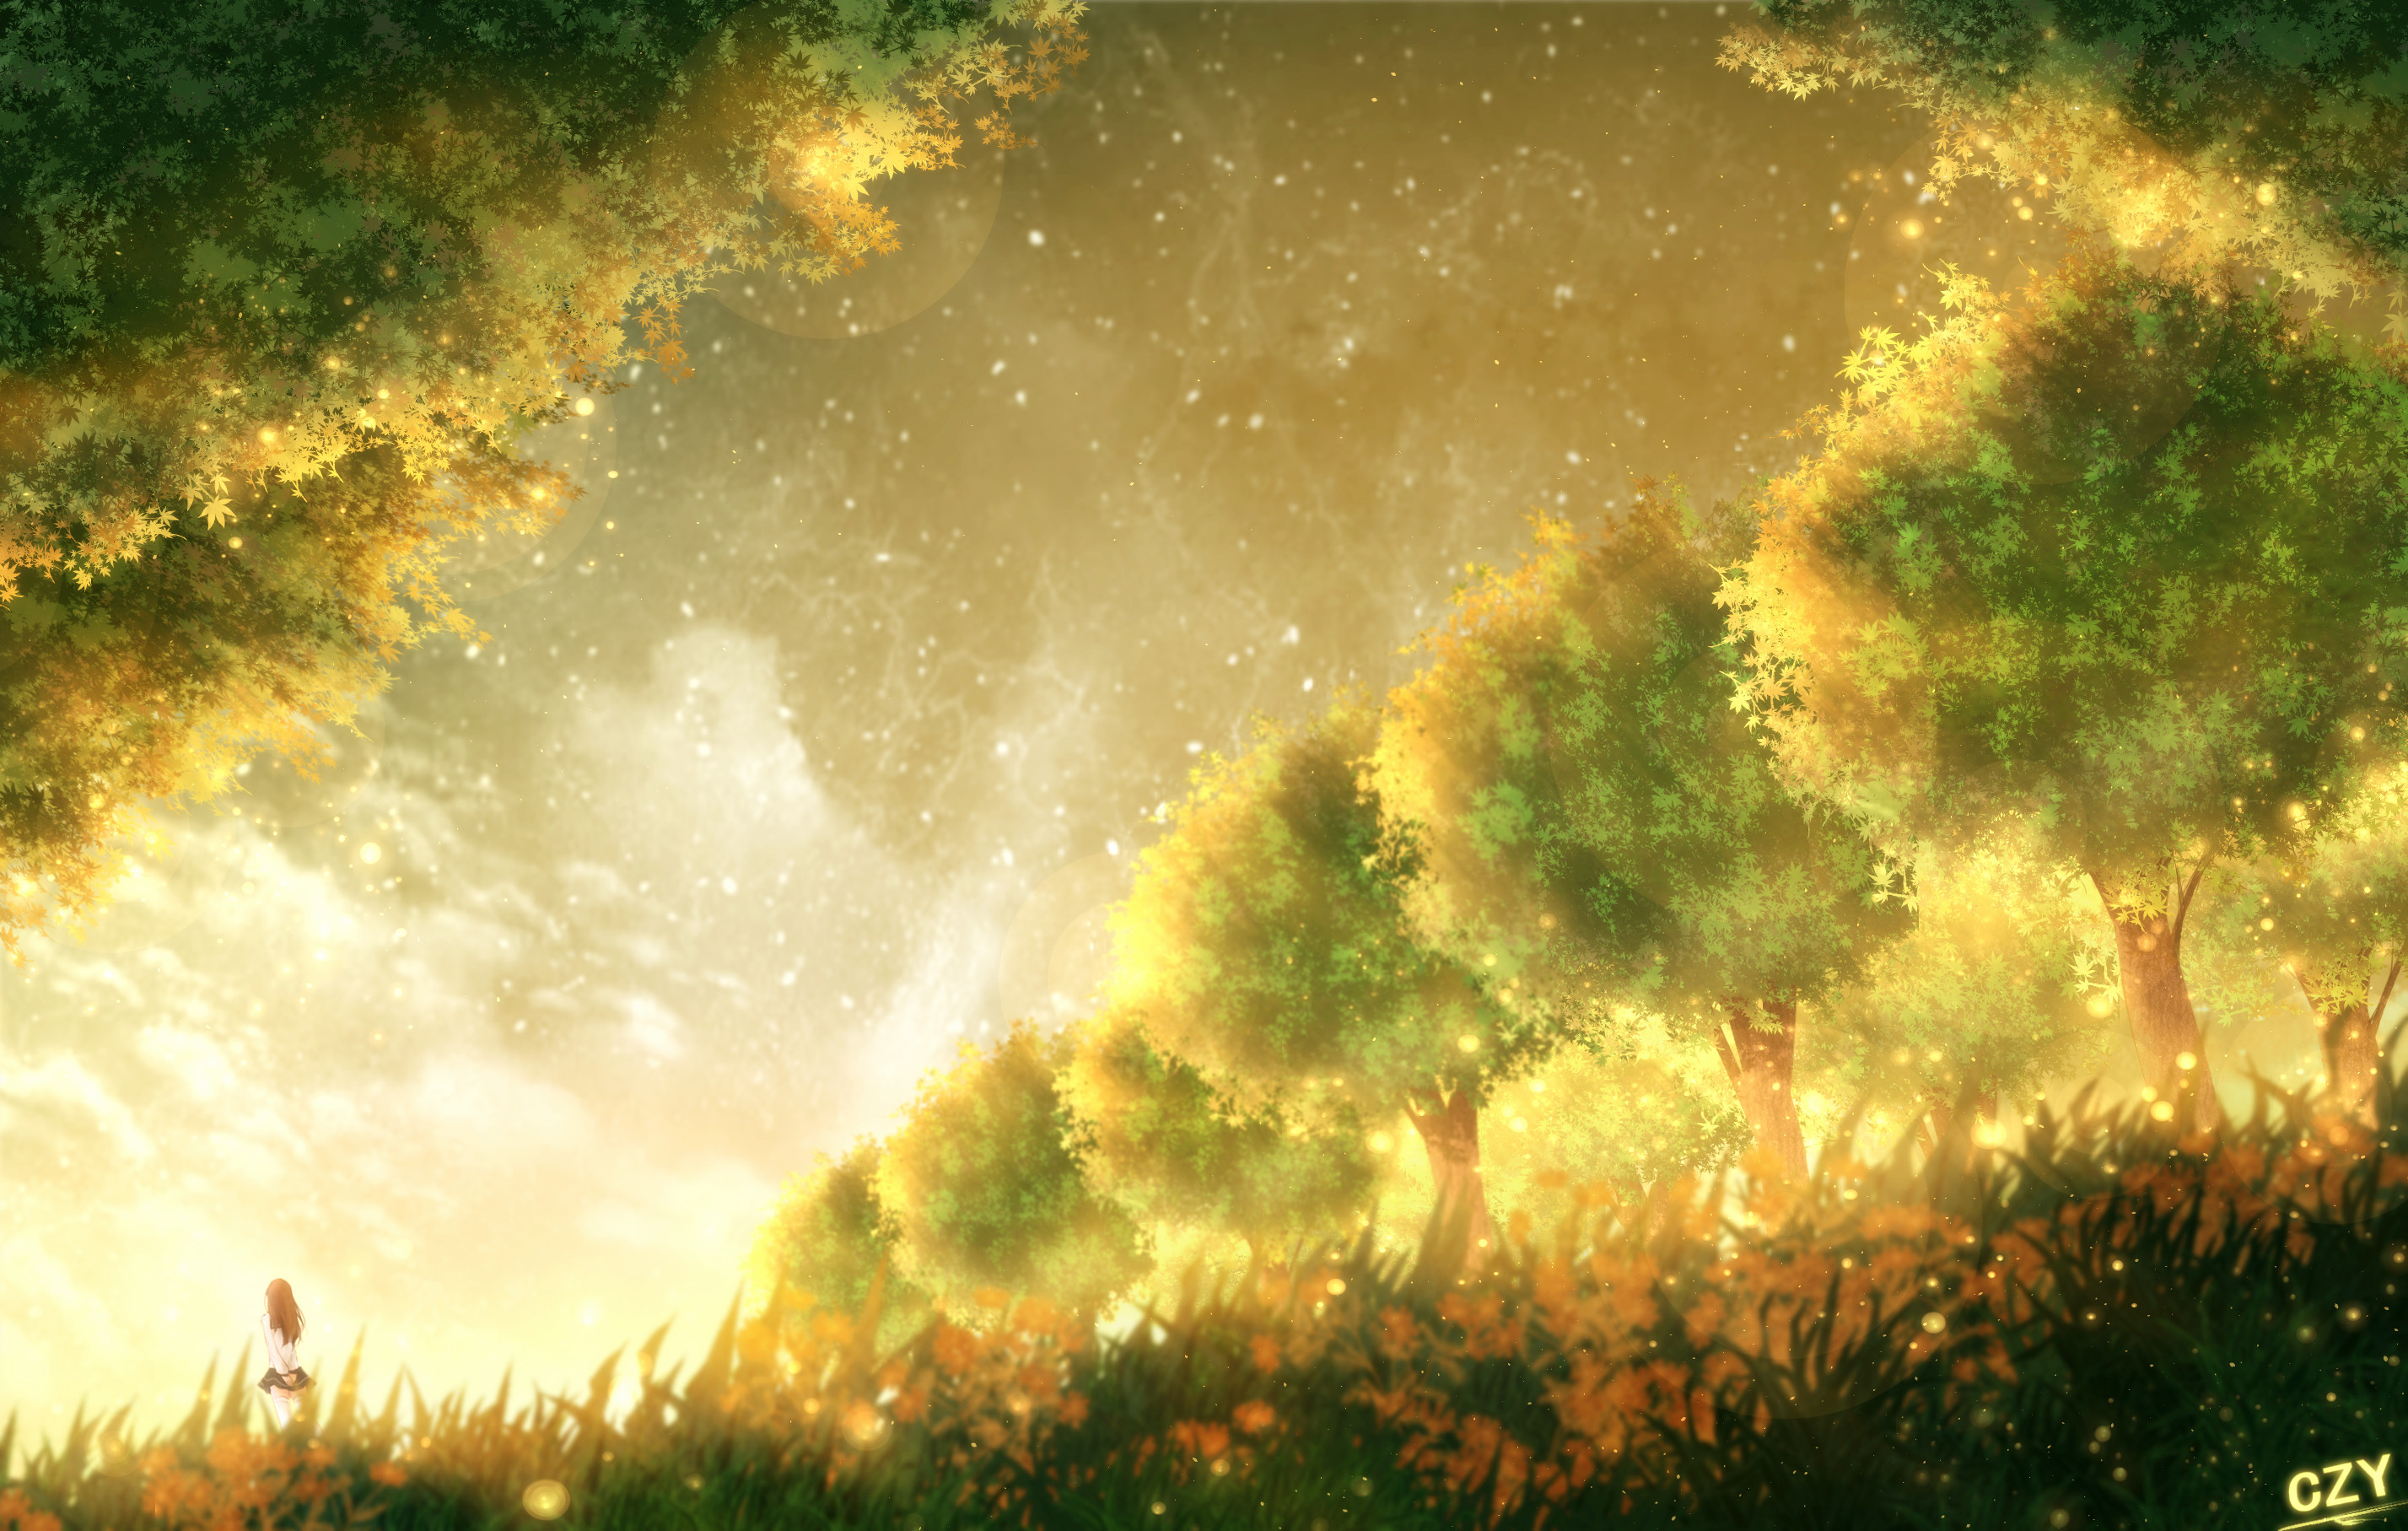
运行起来后,在网站上可以设置主题,在此将主题包上传到文件服务器上,可按需下载:
如图更改博客页面的主题,Win桌面软件用起来相当舒服,至少没有印象笔记动不动充值会员的提醒。run!
博客美化
如何巩固JS(看jQuery源码,看游戏源码)
巩固HTML, CSS(扒网站,全部down下来,修改看效果)
可以学习借鉴以下精彩的前端页面
- 官方
友人C: https://www.ihewro.com/
Ant: https://ant.design/index-cn
docsify: https://docsify.js.org/#/?id=docsify - 个人博客
https://mrhelloworld.com
https://www.acdiost.cc/48.html
http://sunhang.top - 导航页
https://www.webjike.com/web.html
http://n.lackk.com/
https://shouku123.com/
http://hao.uisdc.com/
本次修改以【简约风V3】为蓝本,大幅修改了主页布局,添加了看板娘元素,加入了背景花絮特效等。
leanote全部主题见:http://sunie.top:9009/index.php?dir=/Server/app/leanote/theme
leanote简约风修改版本下载地址:http://sunie.top:9009/Server/app/leanote/originalTheme/简约风V3.zip
最终效果预览图:

1. 添加看板娘元素
在header.html文件尾部添加:
<!--看板娘-->
<link rel="stylesheet" type="text/css" href="http://sunie.top:9009/Server/app/waifu/waifu.css">
<div class="waifu" id="waifu">
    <div class="waifu-tips" style="opacity: 1;"></div>
    <canvas id="live2d" width="380" height="350" class="live2d"></canvas>
    <div class="waifu-tool">
        <span class="fui-home"></span>
        <span class="fui-chat"></span>
        <span class="fui-eye"></span>
        <span class="fui-user"></span>
        <span class="fui-photo"></span>
        <span class="fui-info-circle"></span>
        <span class="fui-cross"></span>
    </div>
</div>
<script src="http://sunie.top:9009/Server/app/waifu/live2d.js"></script>
<script src="http://sunie.top:9009/Server/app/waifu/waifu-tips.js"></script>
<script type="text/javascript">initModel()</script>
<link rel="stylesheet" type="text/css" href="http://sunie.top:9009/Server/app/waifu/flat-ui.min.css"/>
引入对应的js和css文件,如有需要,可以直接下载其中内容。其中,看板娘大小及对话框大小透明度都有调整。
2. 添加背景特效
附着鼠标的花絮:

在header.html文件尾部添加:
<!--动态背景-->
<script src="{{$.themeBaseUrl}}/blog.js"></script>
<link rel="stylesheet" href="{{$.themeBaseUrl}}/blog.css"/>
引入该主题包下的blog.js和blog.css文件,由于左右键点击特效会抢占跳转和菜单,故将绑定事件注释掉了,可能还有更好的方法。
3. 修改文章概览排版
原本只有文字,现在在旁边添加图片显得更有活力:
- 图片设置固定高度,等比例填充
- 鼠标放置扩大宽度
- 添加阴影间距等使其看上去舒适
- 文章概览设置一个响应淡色背景
为了使文字块和图片块在同行排布,就要是其父元素为弹性容器:
<div class="each-post">
    <div class="outline">
        <div class="mybox">
    		...
    	</div>

    	<a href="{{$.postUrl}}/{{.UrlTitle}}" title="阅读全文" class='myimg'>
    	    {{.ImgSrc}}
    	</a>
	</div>
</div>
对应的css如下:
<style type="text/css">
    .outline{
        display: flex;
    }
    .mybox{
        width: 65%;
        margin: 2%;
    }
    .outline:hover{
        background-color: #feeeed;
    }
    .myimg{
        width: 35%;
        margin: 2%;
    }
    .myimg:hover{
        /*margin:1%;*/
        width: 40%;
    }
    .mypic{
        border-radius: 10%;
        box-shadow: 10px 10px 5px #888888; //h-shadow v-shadow blur color
        width:100%;
        height:250px;
        overflow:hidden;
        border:0px!important;
        object-fit:cover;
    }
</style>
未显示出来,或为设置的图片做了一个随机图片的效果,由于CSS不支持变量引用,这里添加js脚本在对应图片的位置添加html代码,随机图片。
<script>
    let trim = s => s.replace(/(^[\s"']*)|([\s"']*$)/g, "");
    let images = document.getElementsByClassName('myimg');
    for(image of images) {
        let text=image.innerText;
        if (text==="") {
            let myindex=Math.floor(Math.random()*100);
            image.innerHTML= `<img src = 'http://sunie.top:9009/Server/background/${myindex}.jpg' class='mypic'/>`
        } else{
            image.innerHTML=`<img src = '${text}' class='mypic'/>`;
        }
    }

    let abstracts = document.getElementsByClassName('desc');
    for(abstract of abstracts){
        abstract.innerHTML=trim(abstract.innerHTML);
    }
</script>
4.修改图片排版
图片居中必须选中其父元素,二ccs并没有父类选择器,必须使用js代码进行修改,在post.html的script中添加:
// 在这里调用图片居中代码
for (let img of document.getElementsByTagName("img")){
    img.parentNode.align='center';
}
同时图片加上淡金色边框更好看:
img {
    display: inline-block!important;
    background: rgba(255, 255, 255, 0.8)!important;
    border: 8px solid #ffce7b!important;
}
其他还有少许修改,都在style.css中。
前一版本博客见:http://sunie.top:9005/blog/post/6029f66e46161f0039000009
由于网页加载太慢,缺乏艺术设计感,并且缺少了某些功能,在此花了3天的时间设计了第二版博客界面,并最终得以发布。
博客美化2
发布链接:https://github.com/sunieee/sunie-simple-pebbles
备用下载链接:http://sunie.top:9009/Server/app/leanote/originalTheme/sunie-simple-pebbles.zip
本次修改以修改版的pebble主题作为蓝本,实际上已经大变样,最终效果预览图:

继承了上次发布版本的图片预览、随机图片等特色,加入了其他元素:不但使用了顶置header结构,加入了右方公告栏,设计了标签大小正比于次数等等。
具体修改的地方太多太杂,是经过3天反反复复修改最终才敲定的,后续可能会略微调整,比如加入动画效果,但整体的框架已经比较满意了。
1. 使用顶置固定header结构

左右结构的header实在太占用空间,并且header的作用就是要醒目,快捷,不适合加入背景图片。
如上图的设计就保留的简约美。不但单页面可以继续向右扩展,文档导航也会自然地浮动于header之上。
2. 加入右方公告栏
来源于evolution主题,这一主题也是相当美观大方:

公告板和浮动板都是这一主题的亮点。但考虑到实现问题,没有加入浮动板元素,有关修改见sidebar.html
3. 右侧标签云
这也是本次设计的一旦亮点,来源于material design主题

这不过原本是没有按照次数选择大小,而是随机的,后续加入了这一功能,具体见tags.html
//生成不规则大小标签云
var tags = $(".each-tag a");
tags.each(function(){
    var target = $(this);
    var randomNum = +(this.title)*3;//Math.floor((11+Math.random()*(20-11+1)));
    target.css({"font-size":randomNum+"px"});
    target.css({"color":getRandomColor()});
});
//获取随机色
function getRandomColor(){
    return '#'+('00000'+(Math.random()*0x1000000<<0).toString(16)).slice(-6);
}
POWERMODE.colorful = true;
POWERMODE.shake = false;
document.body.addEventListener('input', POWERMODE);